![Sonio-logo-samsung-1 1-1.png]](https://lp.sonio.ai/hs-fs/hubfs/Sonio-logo-samsung-1%201-1.png?height=40&name=Sonio-logo-samsung-1%201-1.png)
What you'll learn
- Open the Media gallery and browse all of an exam's media in one place.
- Switch between By protocol (expected-view order) and By acquisition (capture order).
- Enlarge a single image, use fullscreen, and play a cineloop.
- Use filters to focus your review on what matters.
Before you start
- Open the exam you want to review.
- Viewing images needs no special permission beyond being able to open the exam. As a Reader, you can view all of an exam's media.
- Editing or deleting images requires the matching permissions (and, for editing, an image-edit setting enabled), so those actions may not appear for you.
How it works
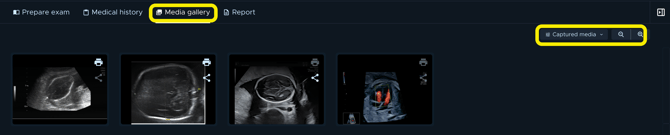
The Media gallery is the tab in the exam navigation marked with an image icon. It shows a grid of all the exam's media: images, cineloops, and 3D media.
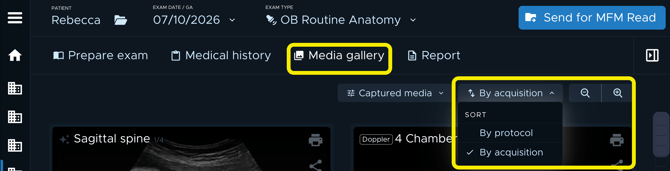
You can review the grid in two orders, set by the Sort control:
- By protocol groups the media to follow the protocol's expected views. Mandatory views come first, then any additional media, then media still to annotate. This is the anatomical, expected-view order you read in.
- By acquisition shows a single flat list in the order the images were captured on the machine.
The Sort control only appears when the exam's protocol actually has expected views. For an exam with no protocol or only an "other" bucket, the gallery defaults to By acquisition and the switch is hidden. Sonio remembers your last-used sort choice and your zoom level between sessions.
One point that often confuses people: the Zoom in and Zoom out buttons in the grid change how large the thumbnails are (how many fit per row). They do not optically zoom into one image. To see a single image larger, you open it in the enlarged view.
Step-by-step: Open and browse the Media gallery
- Open the exam.
- Click the Media gallery tab (the image icon) in the exam navigation.
- Browse the grid of media. Use Zoom in or Zoom out to change the thumbnail size and fit more or fewer per row.
You'll know it worked when you see the exam's media laid out as a grid of tiles.
💡 Tip
To focus your review, use the toolbar filters. Media type narrows the grid to Images, Cineloops, or 3D media. Show narrows it to All, Captured media, Remaining media, or Unverified media. Because By protocol groups the grid by expected view, it is the fastest way to check coverage against the protocol.
Step-by-step: Switch between By protocol and By acquisition
- In the Media gallery toolbar, find the Sort control.
- Select By protocol (for Premium users) to group media into the protocol's expected views (mandatory first, then additional media, then media still to annotate).
- Select By acquisition to see a single flat list in capture order.
You'll know it worked when the grid regroups: sectioned by expected view for By protocol, or a single flat list for By acquisition. Sonio remembers your choice for next time.
Step-by-step: Open an image and use fullscreen
- In the grid, double-click an image tile to open the enlarged view, a larger preview of that one image. In Sonio Detect, a single click opens it.
- Click the image to toggle fullscreen. (Fullscreen is offered on exams that have a trimester set; it is not available on ND exams.)
- To move through the exam, scroll the mouse wheel: this steps to the next or previous image. It does not zoom in.
You'll know it worked when one image fills the enlarged view, and clicking it expands to fullscreen.
💡Tip
Remember the difference: the grid Zoom in / Zoom out buttons change thumbnail size, while the enlarged view is what shows a single image large.
Step-by-step: Play a cineloop
- In the grid, find a cineloop tile. It shows a play icon, and it may auto-play inline if that option is enabled for your site.
- Double-click the tile to open it in the enlarged view.
- Use the controls to play/pause, step to the previous or next frame, or drag the progress bar to scrub.
- To keep a single frame as an image, use Capture.
You'll know it worked when the clip plays in the enlarged view and the controls respond.
A still image that was auto-extracted from a clip is tagged Extracted from cineloop. When the source clip is still in the exam, it offers Watch (which toggles to Back to image) and Go to cineloop to jump to the source clip.
Examples (when to use this)
- Reading an OB exam against the protocol. Open the Media gallery, set Sort to By protocol, and move section by section through the expected views to confirm coverage before you sign.
- Checking motion on a structure. Open the cineloop in the enlarged view, scrub the progress bar, and use Capture to pull a clean still frame for the report.
- Reviewing only unverified work. Set Show to Unverified media to isolate images that still need a look, then enlarge each to confirm.
Common questions / troubleshooting
I don't see the By protocol / By acquisition switch.
The Sort control only appears when the exam's protocol has expected views. Exams with no protocol or only an "other" bucket default to By acquisition and hide the switch.
How do I make one image bigger?
The grid Zoom in / Zoom out buttons only change thumbnail size. To see one image large, double-click its tile to open the enlarged view, then click the image to toggle fullscreen.
The cineloop won't play.
If the tile shows "Processing the cineloop...", the clip is still being prepared. If it shows "Failed to process cineloop", use the Retry option. Once ready, open it in the enlarged view to play it.
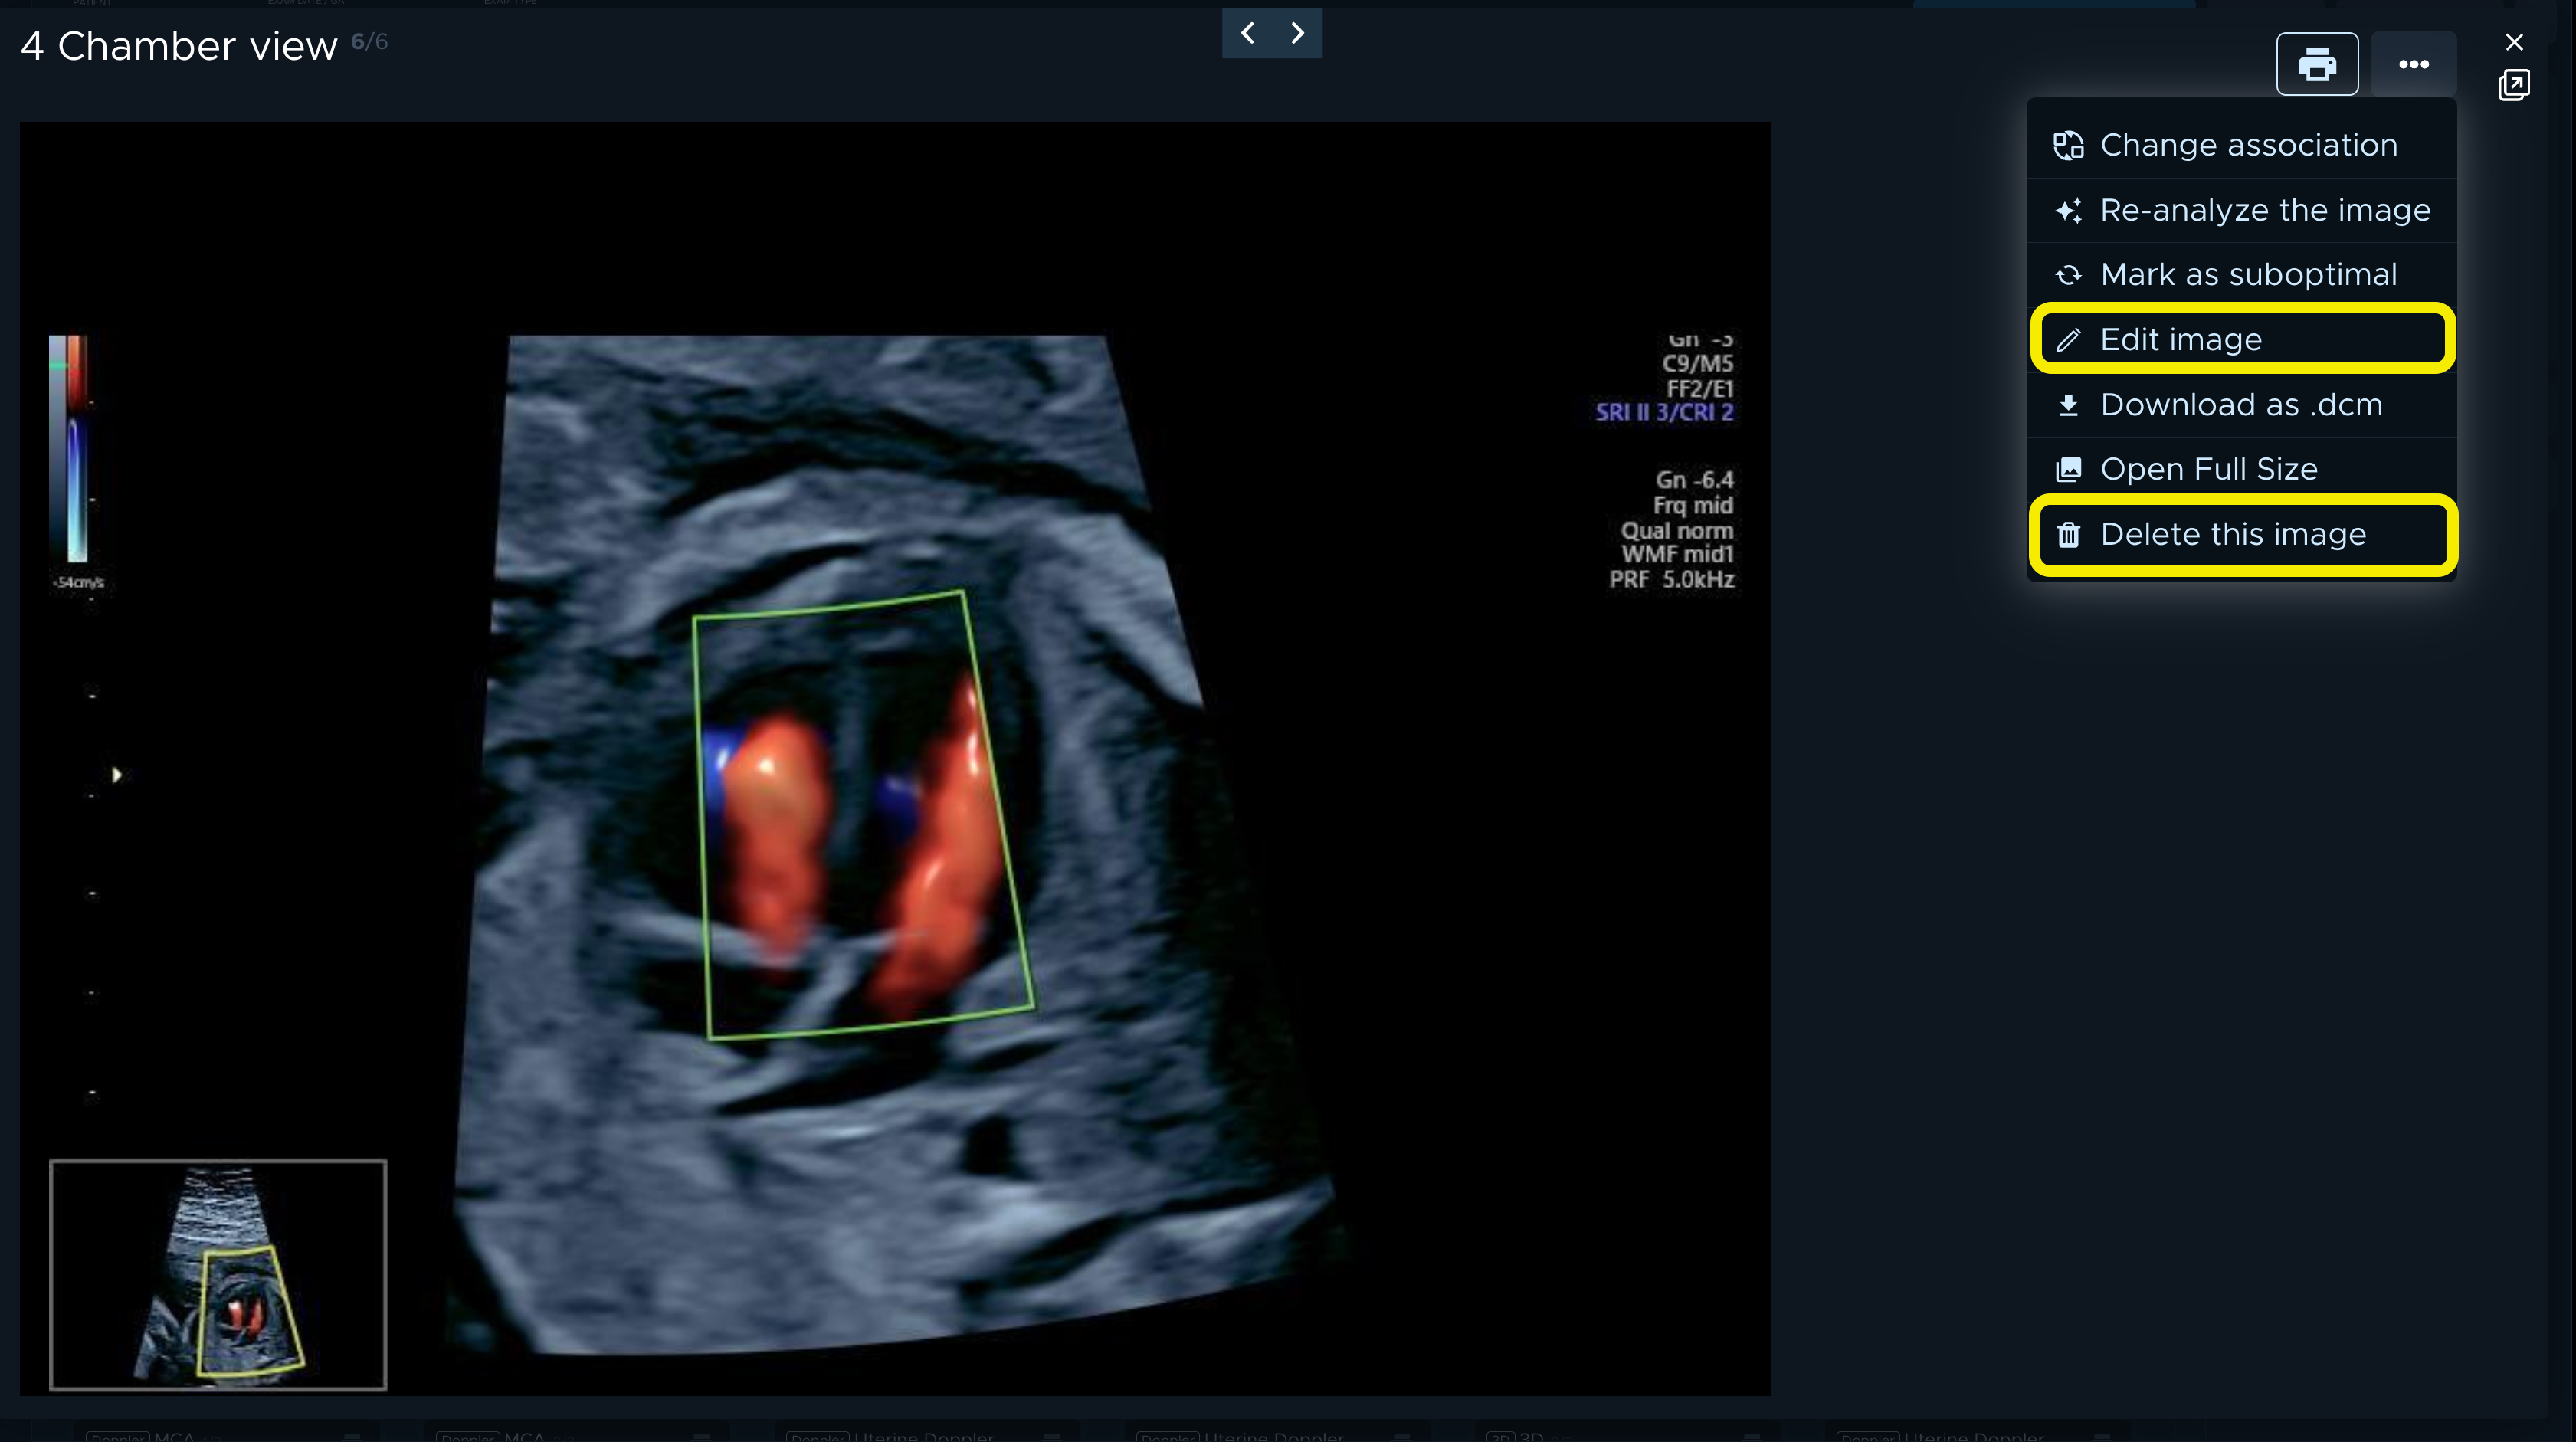
How do I edit or delete an image?
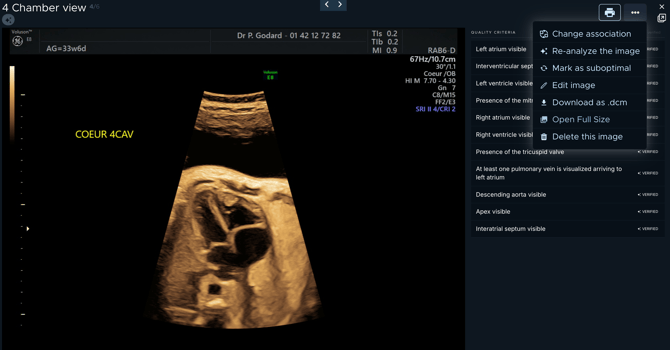
Open the image in the enlarged view and use the … (more) menu: Edit image or Delete this image (or Delete this cineloop). Deleting asks you to confirm. Editing creates a duplicate and does not overwrite the original. Both depend on permissions your organization grants (and editing needs a setting enabled), so they may not appear for every user. See the related articles for the full steps.